Technologies
Technologies
With your optical parameters and mounting dimensions and shape,
we use our proprietary software to simultaneously design optical curves (spherical or aspherical) and mold processing data.
We can also suggest materials appropriate for the intended application conditions.
Optical Design
We start from reviewing your specifications and move on to designing (lens and mechanisms) for your camera lens units, sensing lens units, lighting lens units, viewfinder units, and others.We have a wealth of design experience and know-how in optics used in mobile devices, automotive, security, and medical markets. We also actively engage in realizing your difficult requests.
Mold Design
Mold design is at the core of realizing your required functionality and quality. Nissei Technology offers “value added design.” This means that we add a value to your requests employing a value analysis.To address extended the lifespan of molds, we apply our wide-ranging know-how in using ultra-hard materials, surface conditioning, and switching loss reduction using a cassette method.
We use our own check list in our detailed meeting with you to make sure that every item in your request is reflected. Our cutting-edge 3D CAD system and years of accumulated know-how can generate processing data in a short time.
Ultra-Precision Mold Processing
We have built in-house facilities and peripheral control technologies to make lens molds with a center deviation of 1 micrometer or less to realize the ultimate precision.In particular, we have established ultra precision aspherical processing technologies to feedback aspherical surface profile measurement data from a molded product to aspherical surface processing to produce a mold.
Nanotechnology
We have designated ultra-precision mold processing technology (nanotechnology) as our core technology, and we continue to innovate to extend the reach of the ultimate precision.
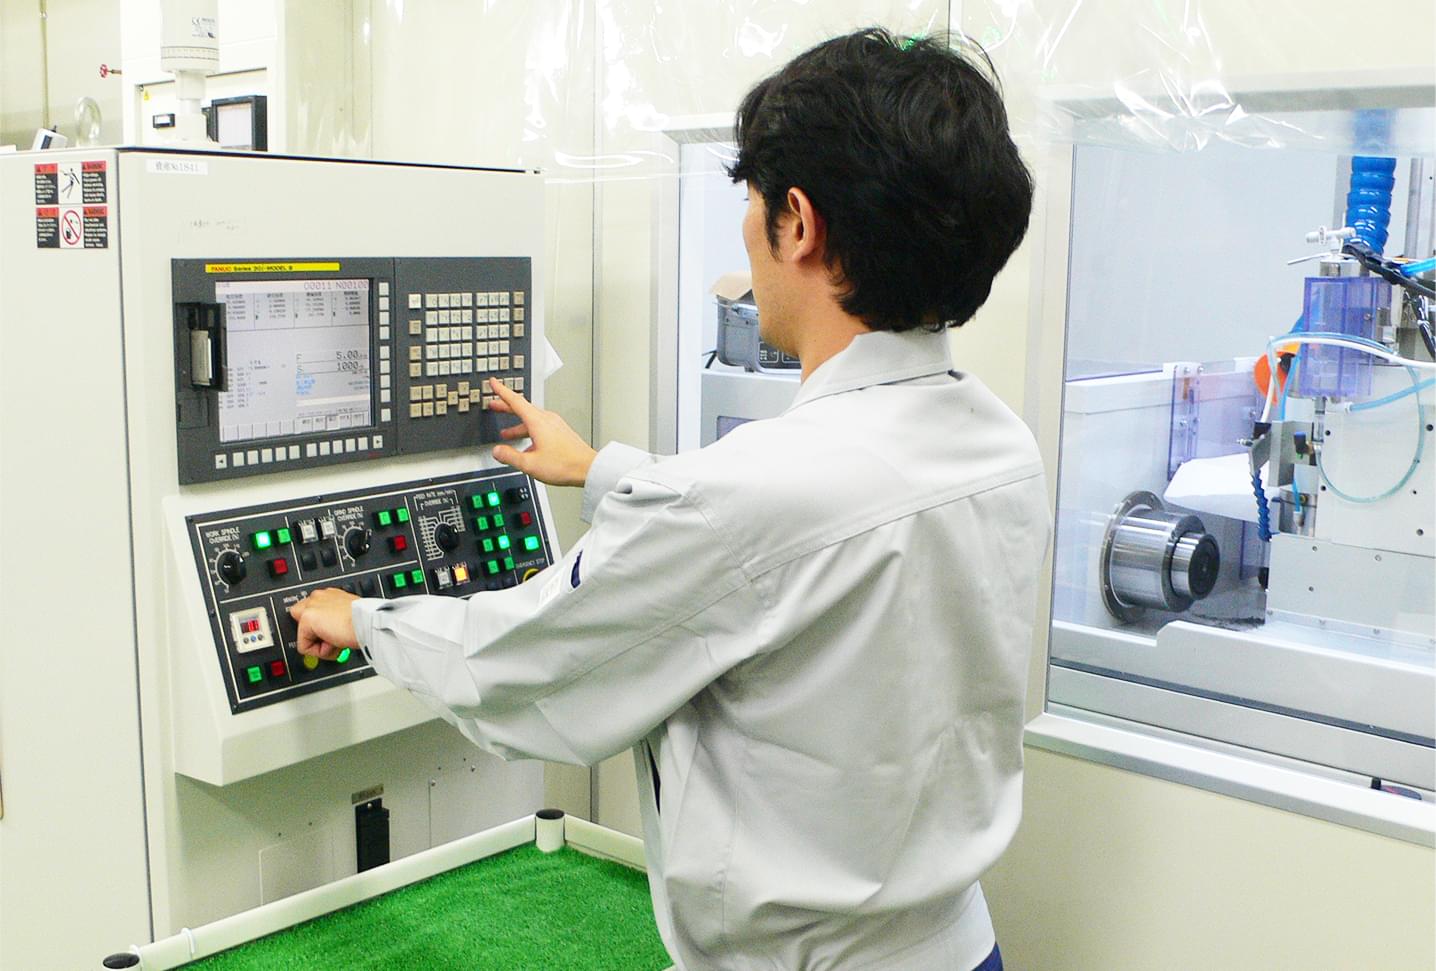
Ultra-Precision Aspherical Processing Machine
Features
- 3D Processing Using Four-Axis Control
- Stable 1 nm resolution employing optical scale and linear motor drive
- Maximum diameter of work to be processed: 120 mm
- Plastic lens mold made of monocrystalline diamond
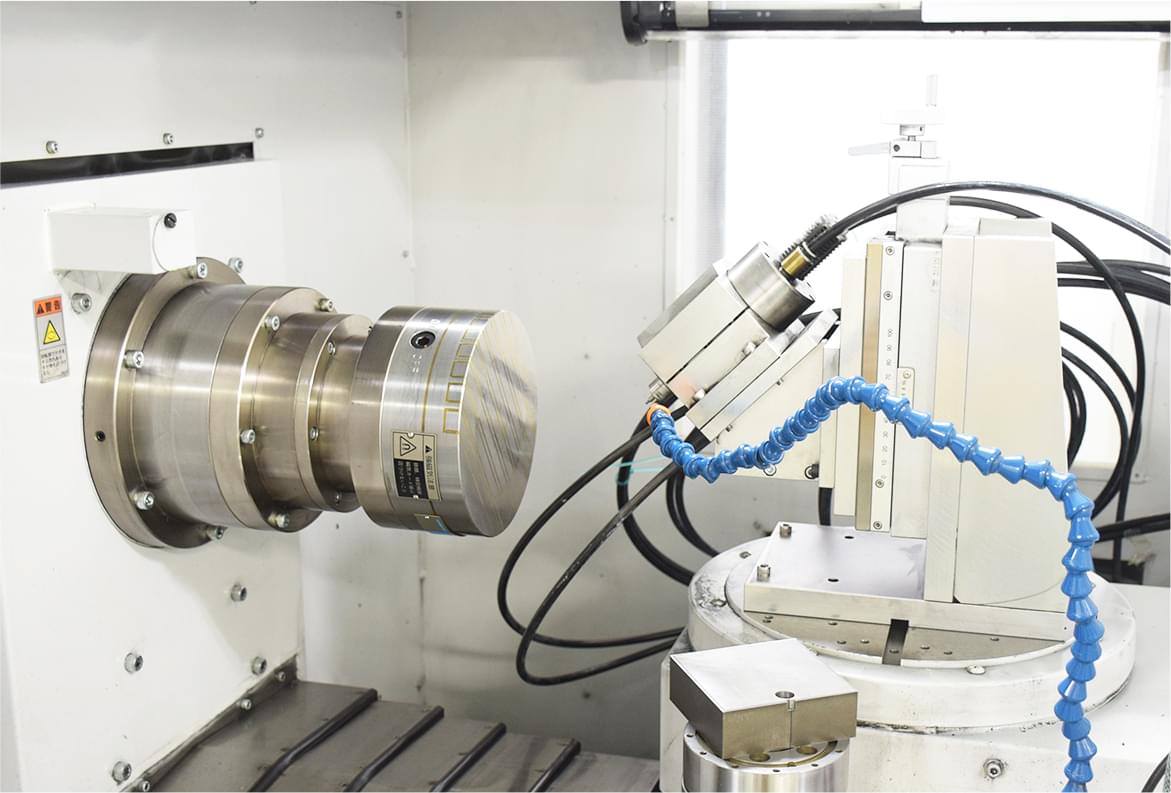
- Glass lens mold made of diamond grinding stone
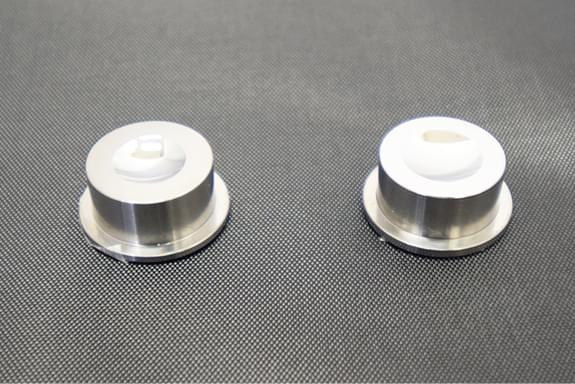
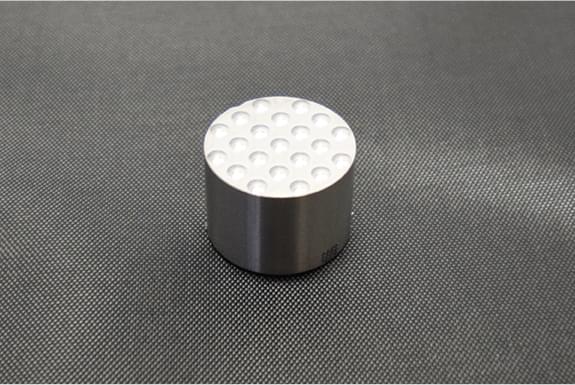
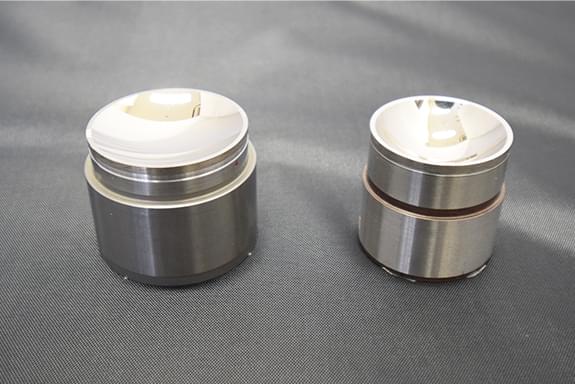
Application example of processing machine
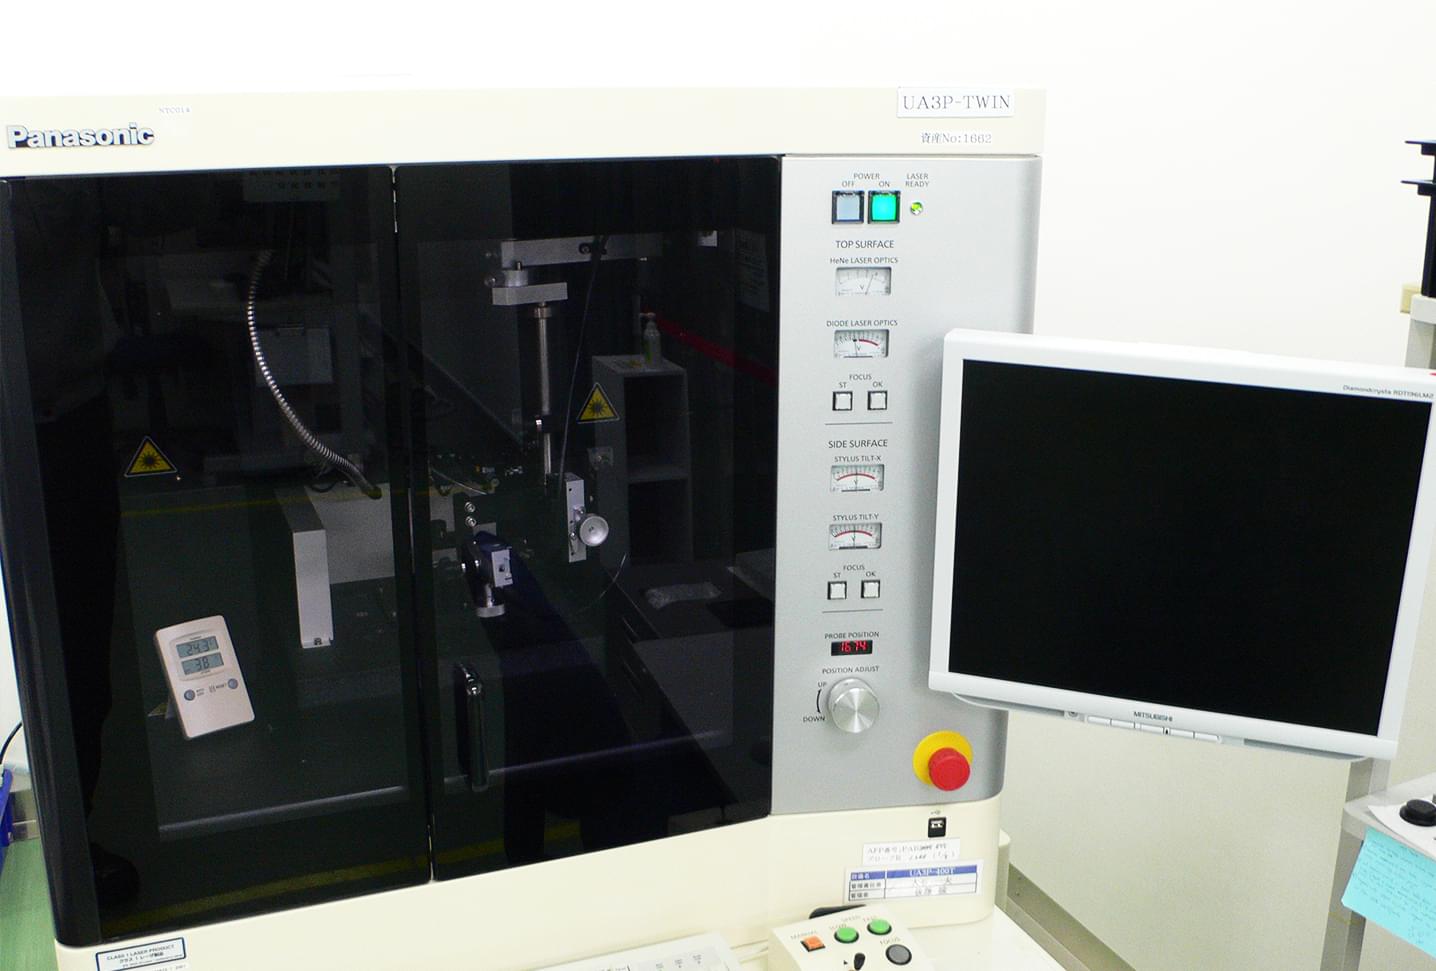
Ultra-Precision 3D Profiler (UA3P)
Features
- Atom probe enables nondestructive measurement with the world’s best resolution of 0.01 μm
- Scanning measurement on axis/surface/circumference
- Fast measurement including feedback to processing
- Measurement range (x-, y-, and z-axes): 200 × 200 × 45 mm
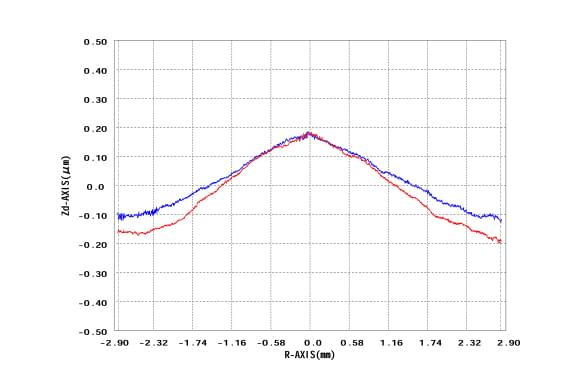
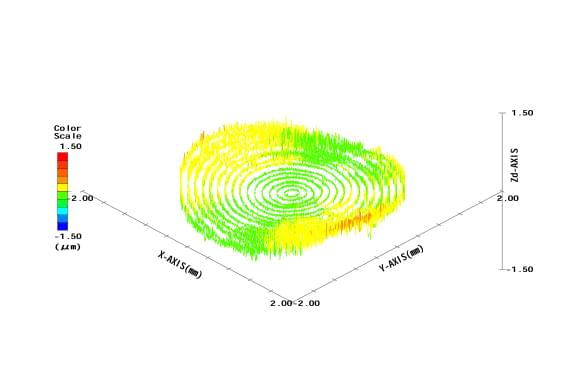
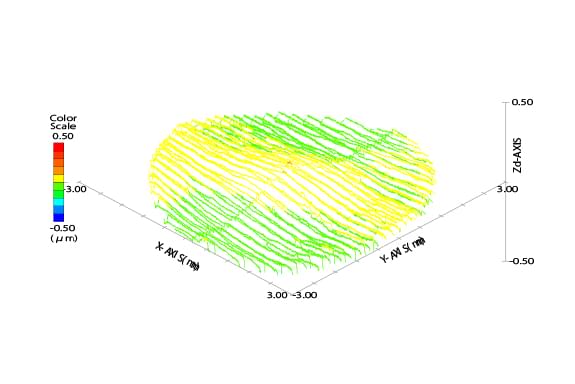
Application example of measuring instrument
Optical Mold Processing
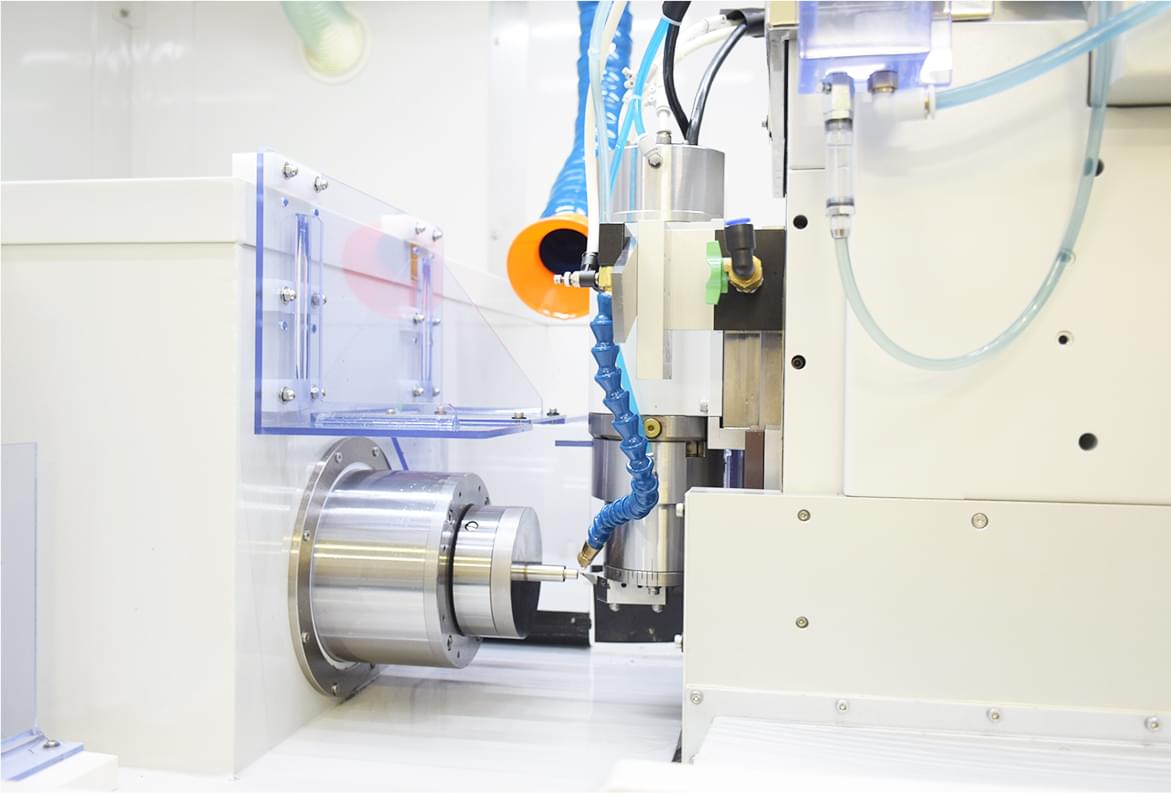
Plastic lens molds are cut using a single crystal diamond.
We are also tackling cutting process using ultra-hard alloy for making glass molds.
Cutting Process Technologies
Grinding Process Technologies
Molding Technologies
Lens molding is a typical example of ultra-precision molding. We have established technologies to copy curved surfaces generated during design into molds and products completely, while keeping the profile consistent during mass-production. Our proprietary technologies and infrastructure maintain the optical characteristics of production lots in their initial, intermediate and final stages with an excellent consistency.Additionally, gating processes after molding is performed with our in-house equipment without applying stress to products that may disturb their optical characteristics.
Coating Technologies
We possess optical membrane design technologies to satisfy desired optical characteristics, and precision membrane control technologies employing ion assist deposition (IAD). These technologies enable us to develop and manufacture the following optical membranes:- Wide-bandwidth, low- and anti-reflection membranes
- High-reflection metal membranes (Al, Au, etc.)
- Functional membranes (water-repellent, etc.)
Assembly Technologies
We employ in-house assembly equipment and jigs, as well as efficient assemble procedures to assemble lens units and precision component units consistently. Improved precision of assembly equipment enable us to support the high precision of unit products.Measurement, Evaluation, and Analysis
High-quality products require precise and accurate measurements and measurement technologies. High image quality required for the latest smart phone cameras is made possible by surface profile precision with design errors of 0.3 um or less, and these requirements are becoming more stringent year after year.
Needless to say, peripheral components around lenses also need to have high precision. In particular, lens holders to house lenses usually have a complex three-dimensional shape, which requires measurement, analysis and evaluation technologies using a 3D measuring instrument.
We are also focusing on evaluation technologies for lens units that are composed of these components. In addition to failure analysis and reflectivity and transmittance measurements by measuring eccentricity and distance between lenses, we have become able to perform MTF measurements using wide angle lens units of 190 degrees or more and also using a sensor unit supporting near infrared, as well as characteristics evaluation under temperature ranges from -40 to +130 degrees C.
Nissei Technology is always working on improving measurement and evaluation technologies to support your various requirements.
